It’s T minus six days. My boxes are packed (except for a few more cocoa packets), my gear is set (except I’m still waiting for my new sleeping bag to arrive), and I’ve been hiking daily (but only for two days straight). Am I ready? Psh, yeah- in all the right ways I’m ready. I’ve got the essentials in my gear and resupply boxes and if I have to get in shape while on trail, then so be it. If I’ve learned anything from my long hike last summer, it’s that it’s just not worth it to stress over the details of the trip. I’m going to have a great time, and I’ll probably have an even better time if I LET GO of those little details!
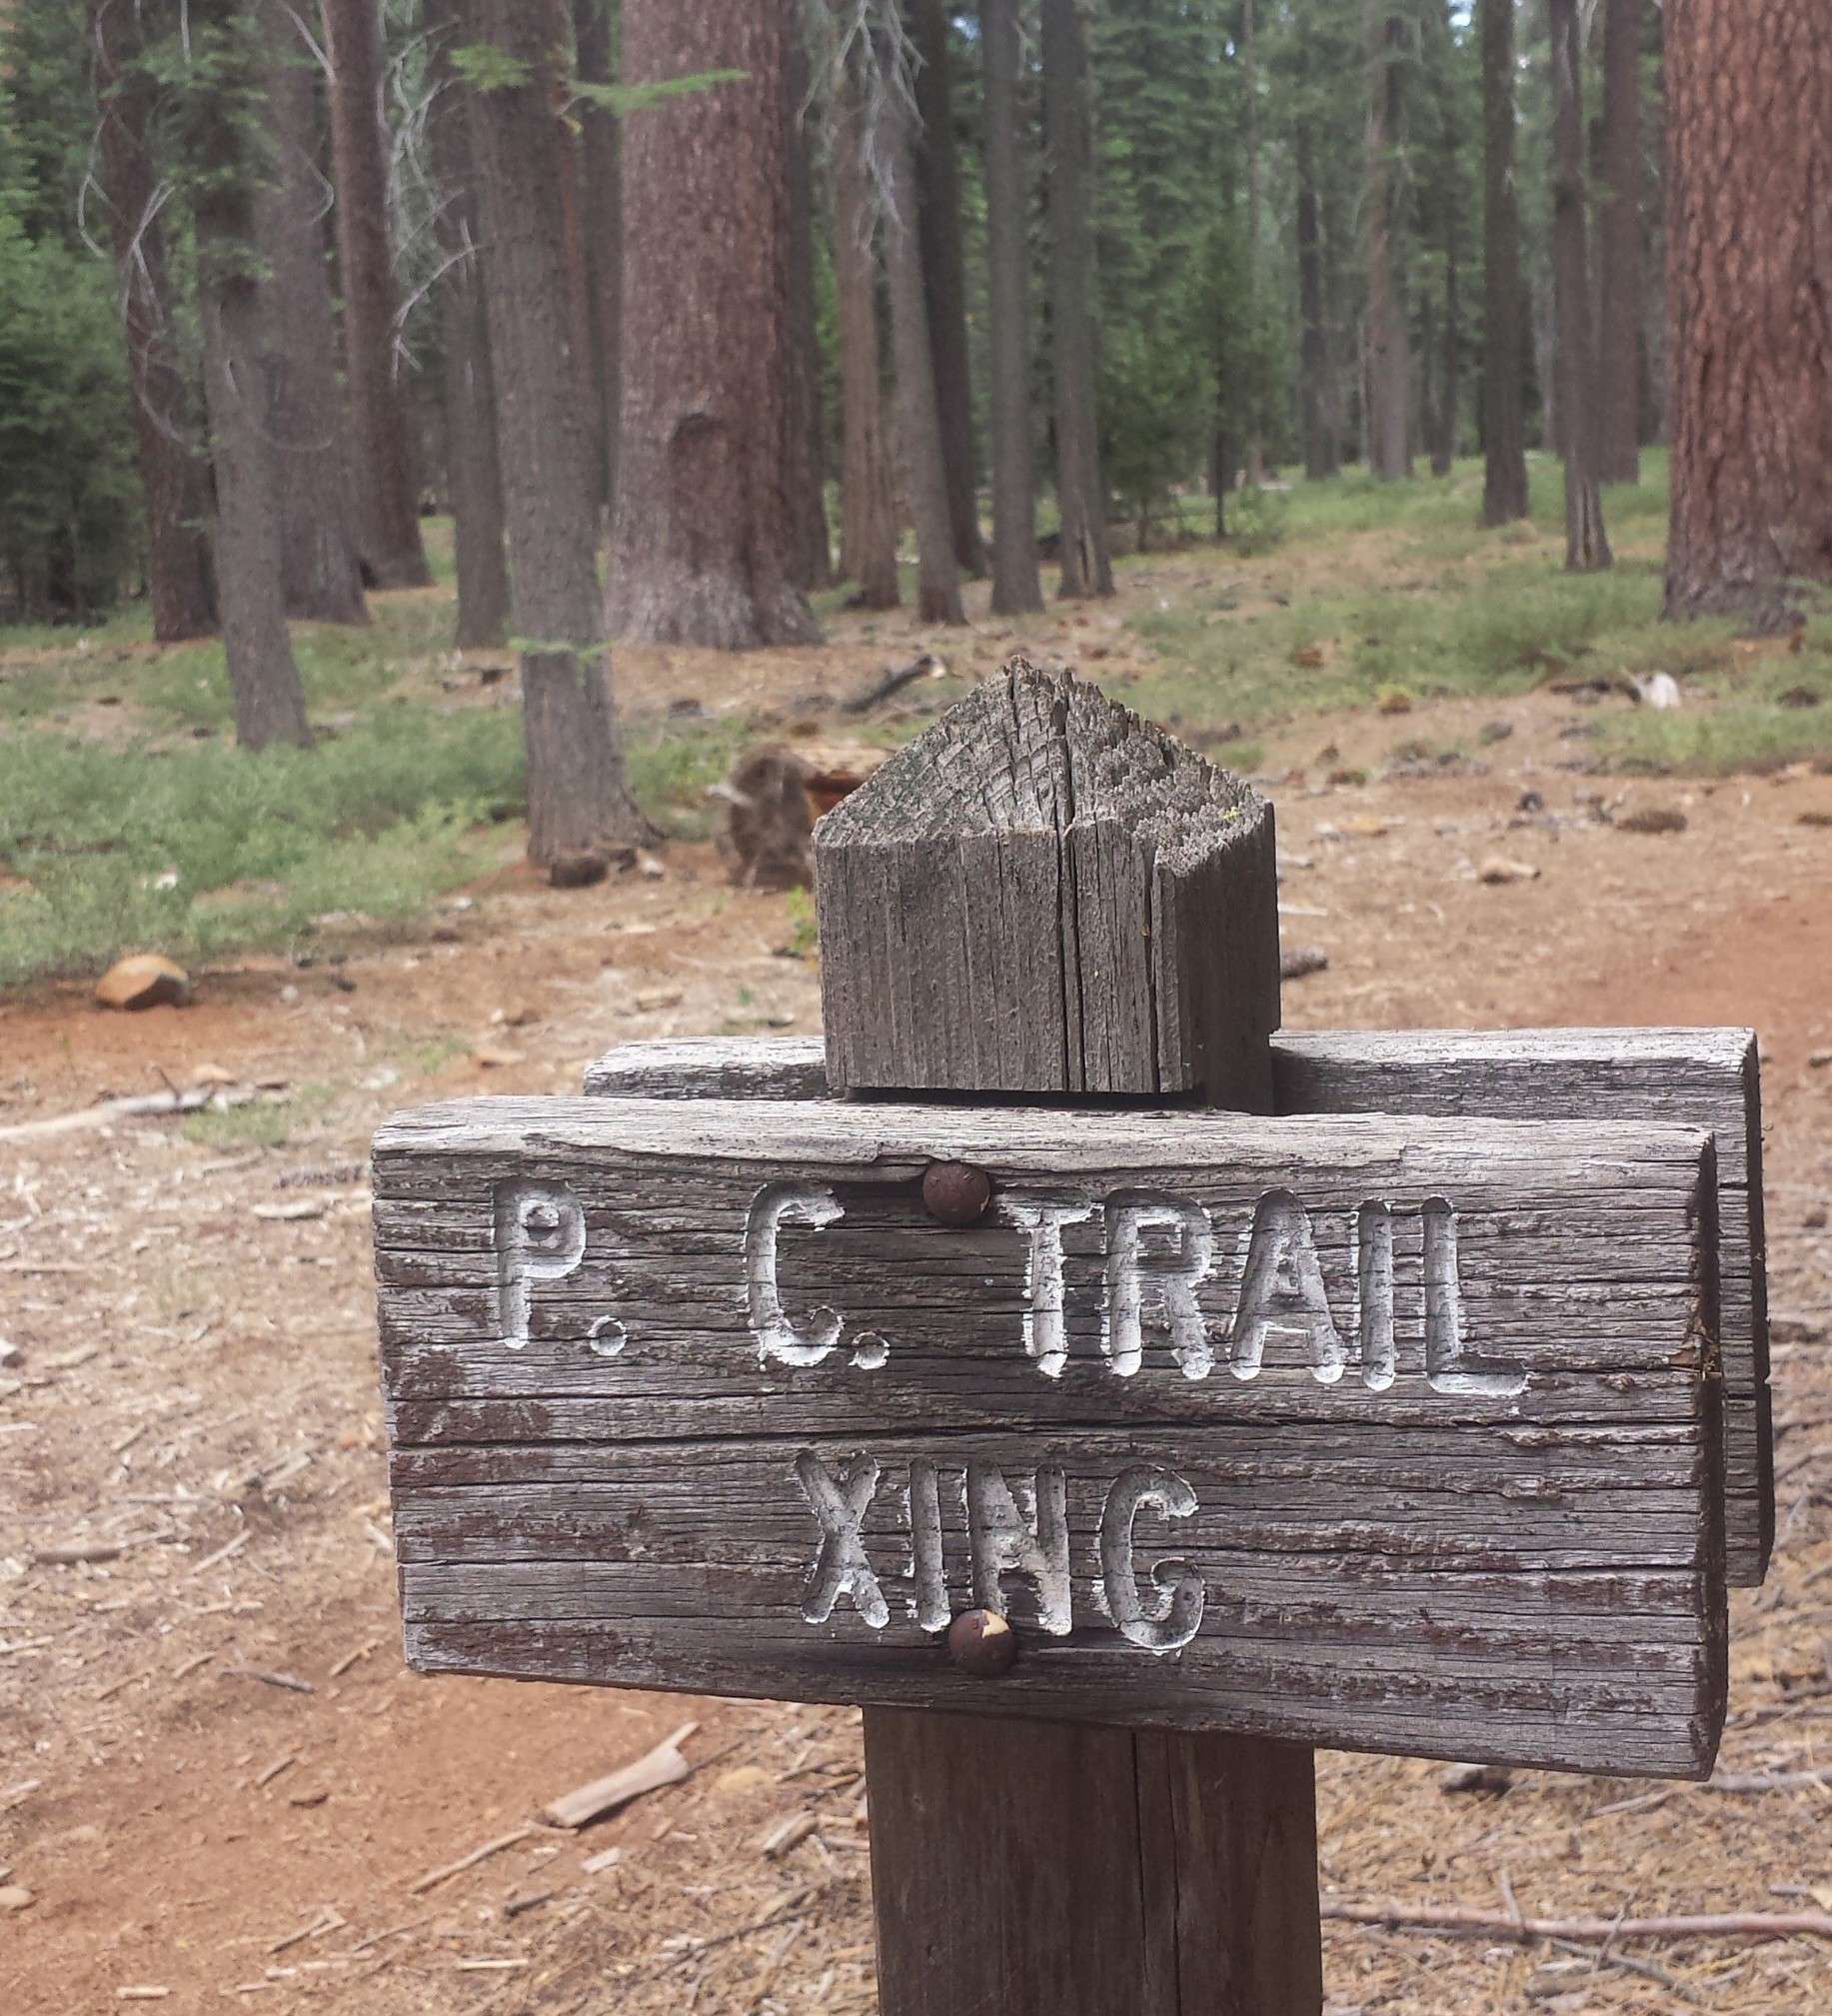
Many of you know that ever since I had knee surgery to repair torn cartilage, I’ve made it my goal to hike the entire 2,650 miles of the Pacific Crest Trail. Since August of 2013, I’ve been section hiking California’s PCT, completing 1,726 miles, and this summer I aim to hike all the way from Lake Tahoe to Canada and finish the trail once and for all.
Yes, you’re right, I AM re-hiking the 632 miles from Tahoe to Oregon. Why do that, when I’ve only got to hike 900-something miles to officially finish the trail? Short answer: because it’s FUN! Long answer: last summer I hiked just over 1,100 miles and by the time I was getting off the trail, I felt like I was just hitting my stride. I want to know what it feels like to hike more than 1,100 miles. Will it feel better or worse? Eh, probably about the same as last year. Will I reach some kind of athletic nirvana state? Probably not, but I still want to feel it for myself. Will I be kicking myself after I’ve hiked 900 miles, saying “I could’ve been done already!” Probably, but it’ll be worth it.
What am I doing differently this time?
New gear:
To see a complete list of my gear for this hike, check out my 2015 PCT Gear List.
1) Zpacks 20° sleeping bag– replacing my REI Women’s Halo 32° bag. This new Zpacks bag will be warmer and roomier, yet lighter than any of my other sleeping bags. Because Zpacks specializes in customizing gear for individuals, I was able to select a bag that fits my unique height and desire for extra width as an added luxury. I can’t wait to try it; I only hope it arrives in time!
2) Gossamer Gear Mariposa backpack– replacing my Zpacks Arcblast pack. I really, really loved my Zpacks Arblast, but I need something with a bit more durability. So, I’m opting for added weight in exchange for longevity. These things are all about comprises!
3) Klymit X-lite Torso Pad– replacing my Klymit Interia X-frame. The X-frame was a fantastic sleeping pad and because it was so awesome, I had a good feeling about the torso pad version when Klymit came out with it. I’ve used this pad for two nights and it did not disappoint. I’m really looking forward to showing it off to all the Thermarest-carrying hikers.
4) Columbia Women’s Insect Blocker Shirt– I didn’t pay too much attention to what kind of shirt I wore last year. This year, I’m going all out. The Columbia shirt not only has built-in insect shield, but also a UPF of 30, moisture wicking, and will look cute layered with a tank top. Cuteness aside, layering is important while hiking. It’s nice to have options while out in the elements: long sleeves or short, pop the collar or not, unbuttoned or buttoned. These little things make a big difference in sun protection and comfort in the cold and heat.
5) Humble Chic Convertible Dress Skirt– replacing my Macabi skirt. The Macabi skirt is a great product. It’s durable, versatile, and just screams “Little House on the Prairie.” It’s great to be practical about your trail clothing, but if you’re out there for months, you still need to maintain your personality. The Macabi skirt was everything I needed it to be, except I got sick of everyone asking if I was Amish. Anyways, I’m excited to try out this completely random dress I found on Amazon. I like that it’s long enough to hide my underwear when I’m sitting and short enough to be cute. I’ll let you know how it works out!
*UPDATE: this skirt was a horrible idea. I eventually switched to using a Mountain Hardware Dynama Skirt.
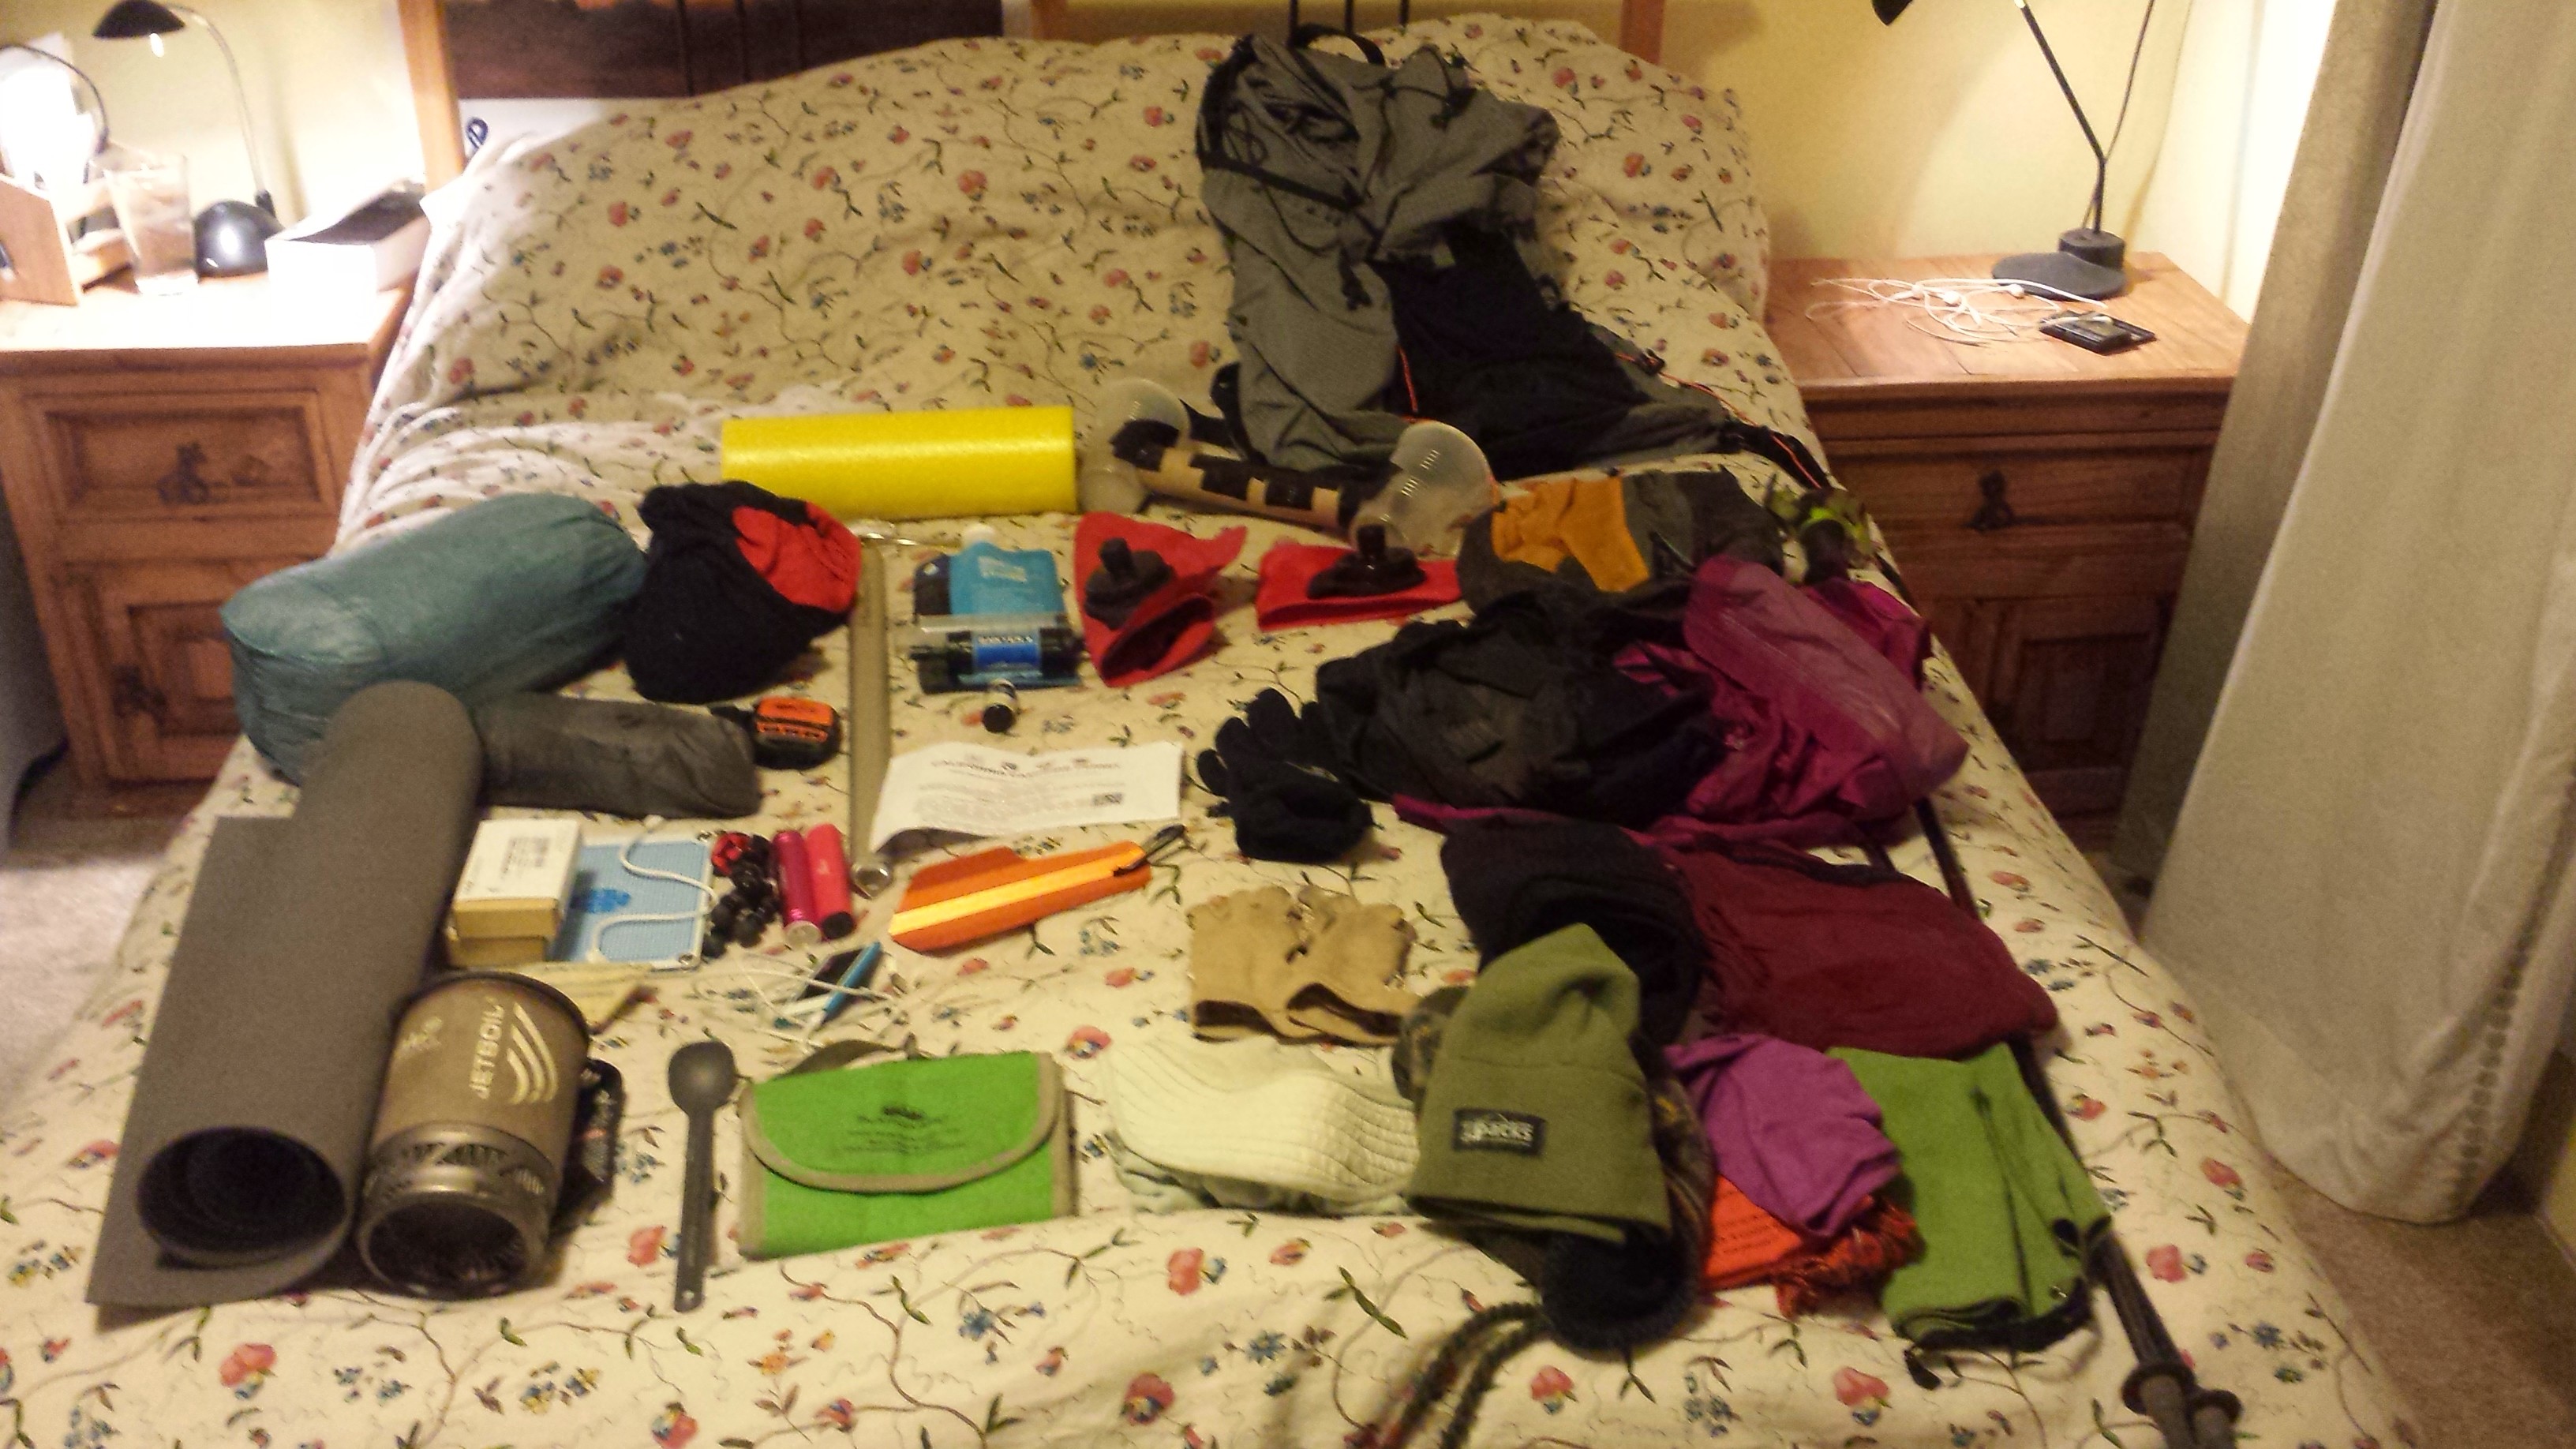
Assessing my gear
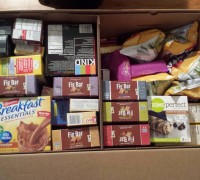
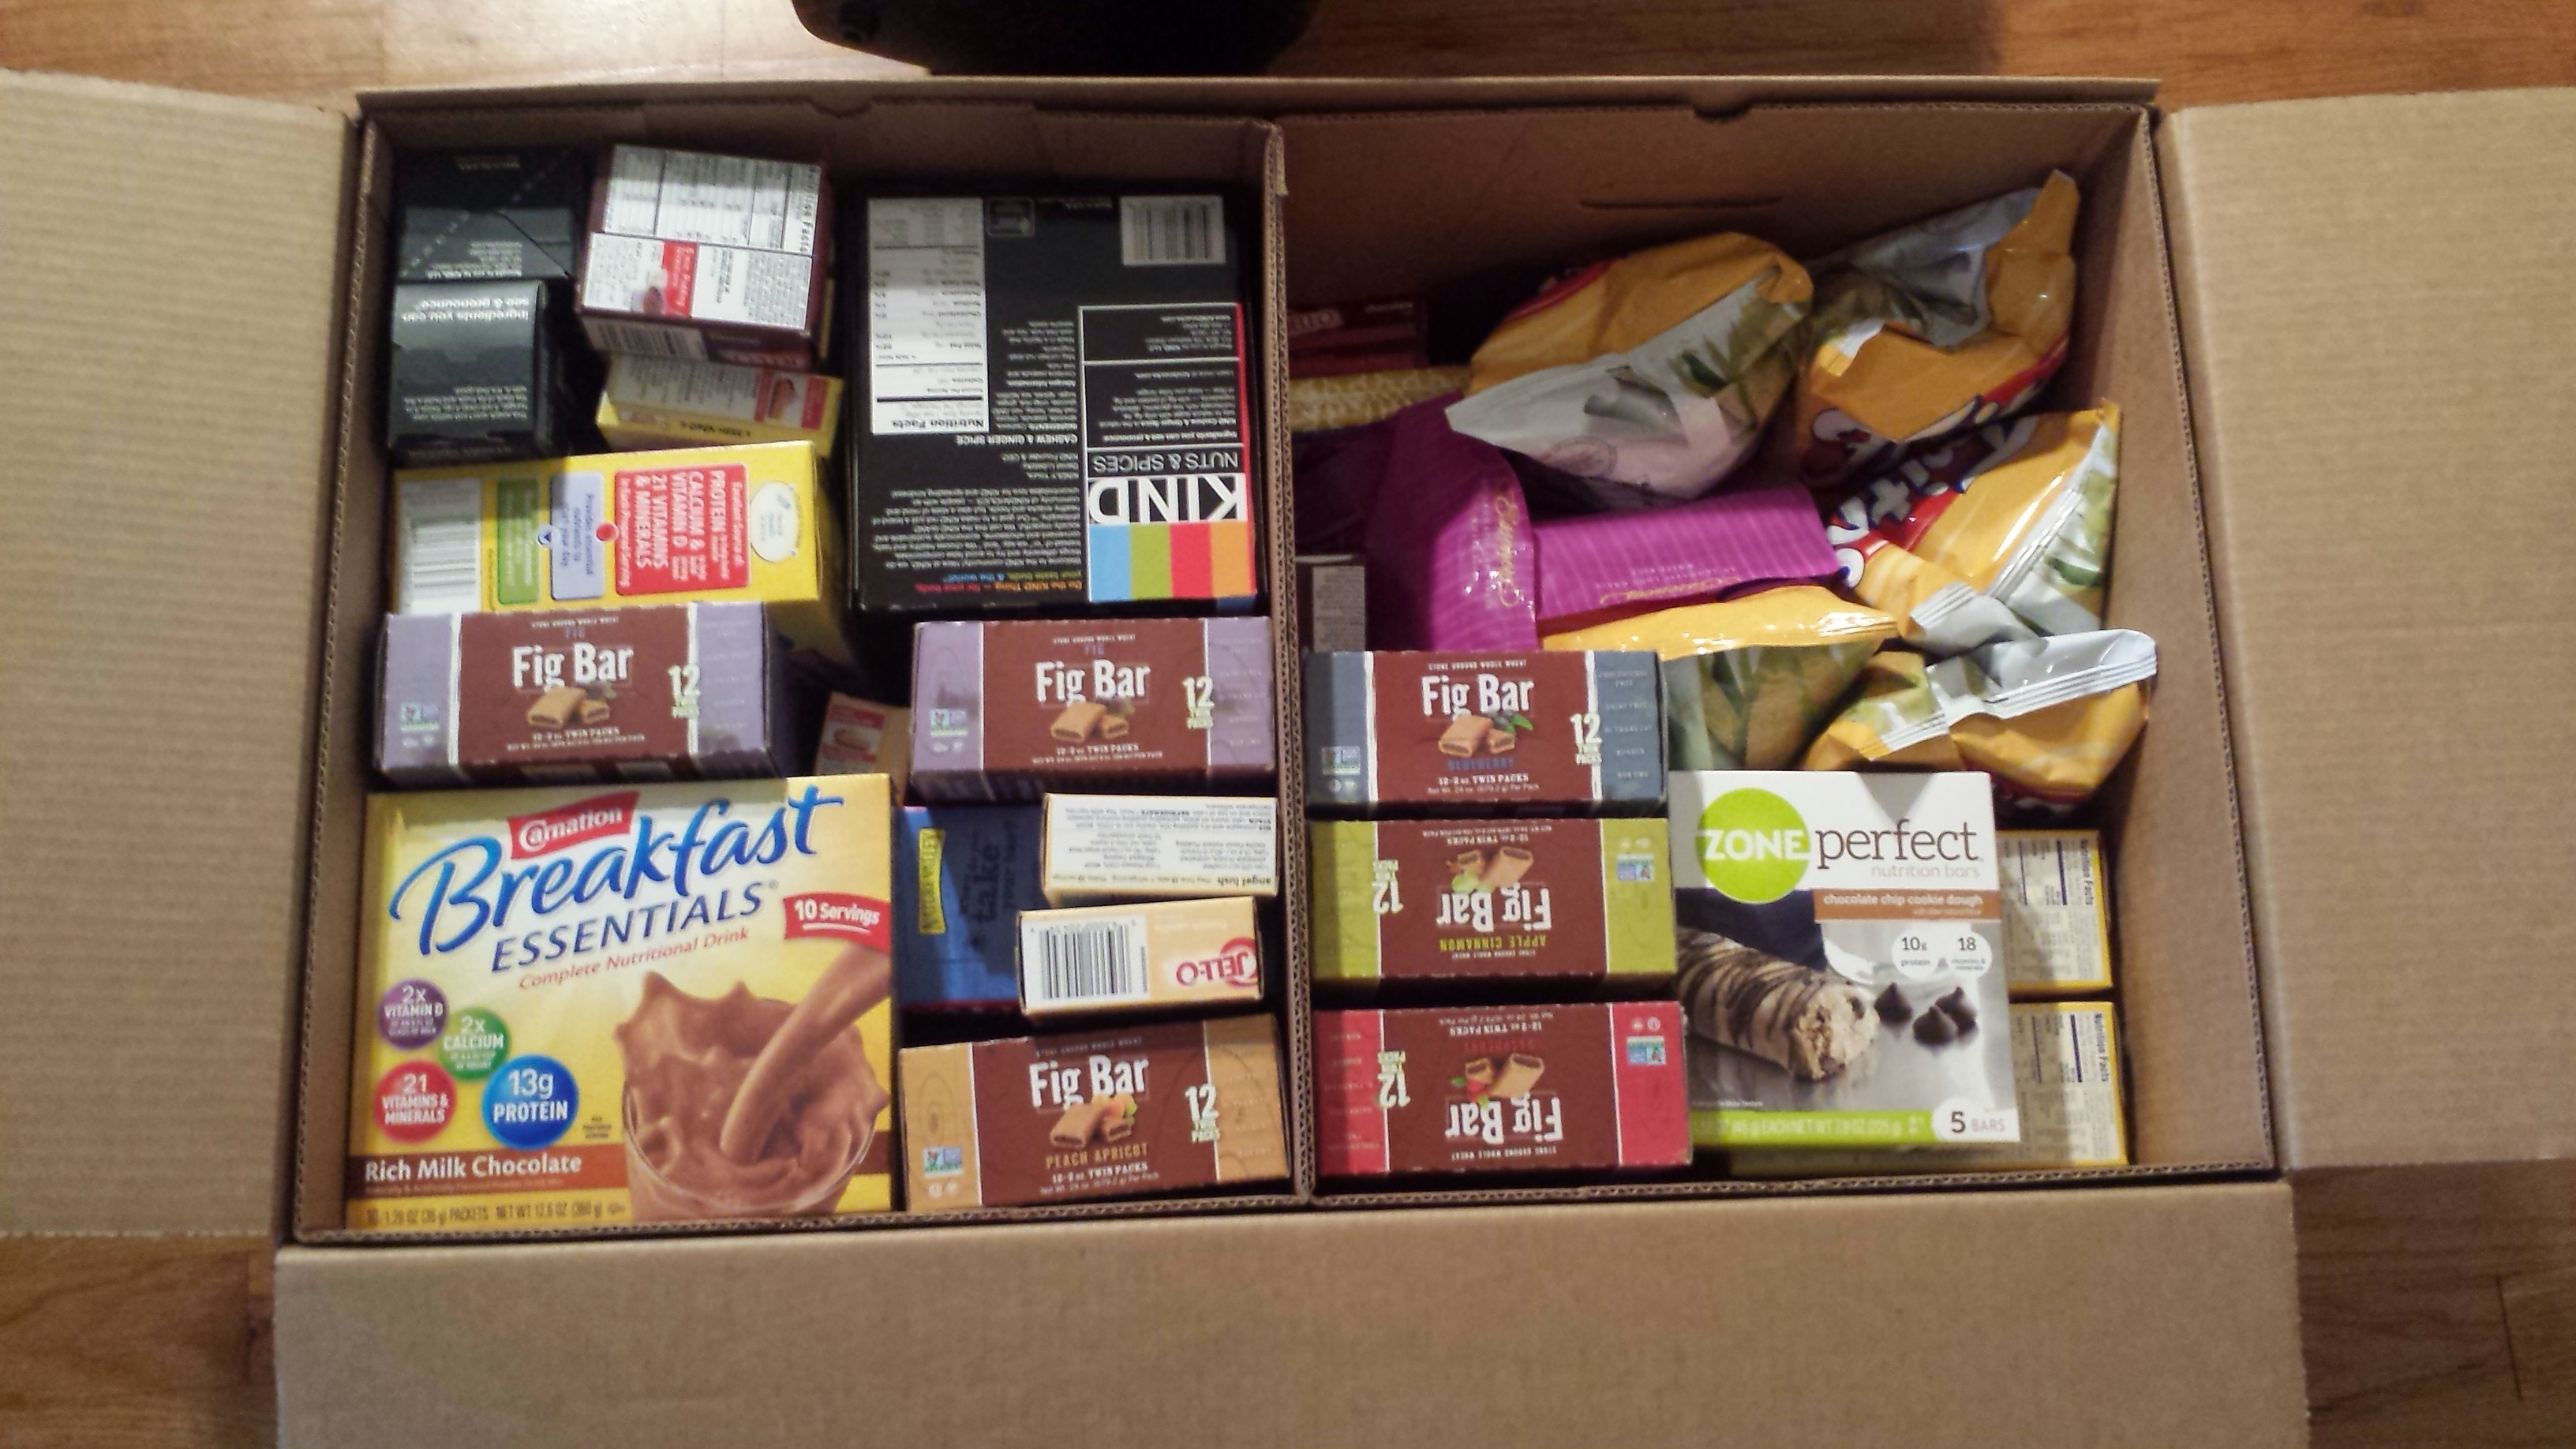
New Food:
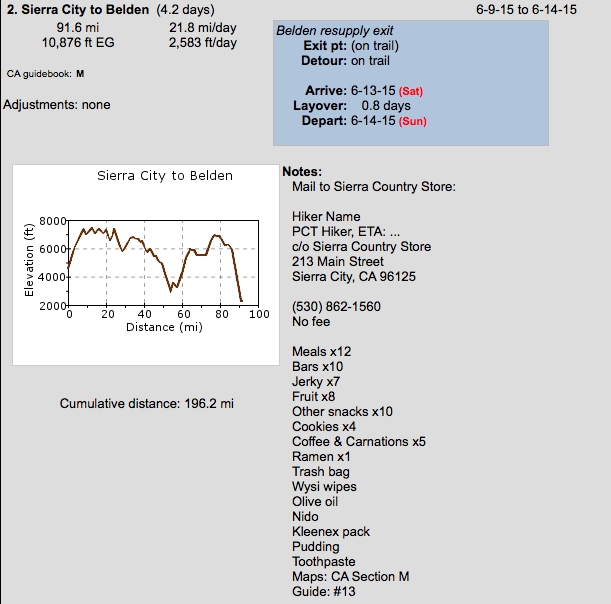
To see how I organize my resupply boxes, check out my recent post on What To Put In Your Resupply Box.
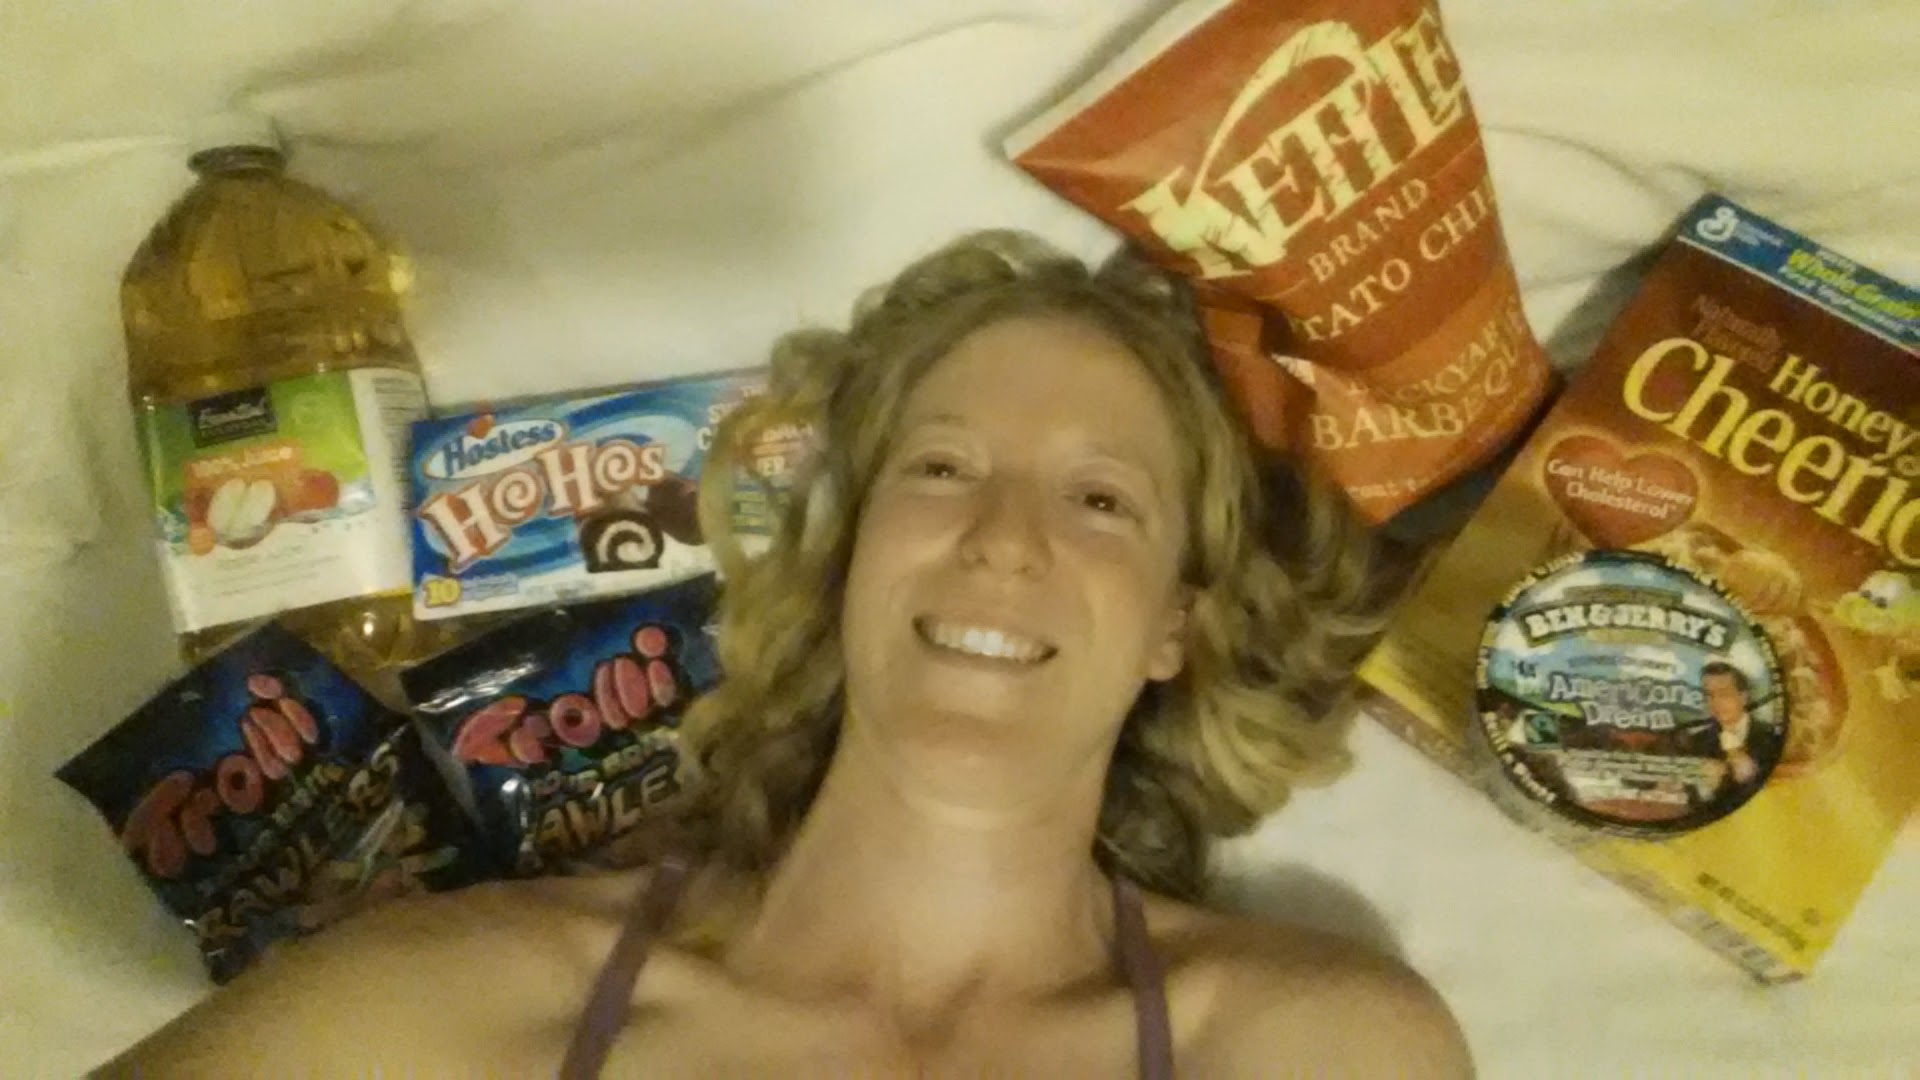
This time around, I have a much better idea of what kind of food I will need and want on the trail. I’ve cut out the products I didn’t care for last summer and have diversified everything from my bars and jerky to my meals and sugary treats. I’m also taking into consideration how fun it is to buy treats, junk food, and new kinds of foods at town stops, so my resupplies allow a bit of room for spontaneous shopping!
1) Hot cocoa and marshmallows in EVERY box- last summer I ended up buying hot cocoa packets at every town I stopped in for resupply. It was a major bonus when I found brands that had mini marshmallows in the cocoa mix, but they were had to find and there were never enough marshmallows. This year, I’m taking matters into my own hands. I’ve bought enough organic hot cocoa for every resupply box, plus I’ve packaged more than enough mini marshmallows for every single cup of hot cocoa.
2) Given my fair skin and family history of skin cancer, my doctor is practically insisting I take a supplement called Astaxanthin to help protect me from sun damage, just for the duration of the hike. It’s made from a Hawaiian algae and somehow helps the body control oxidative responses to UV exposure, i.e. it’ll help prevent sunburn and skin cancer from the inside out. I’m not much of a pill-popper, so I’ll let you know how this goes.
3) Couscous, ramen, and mac and cheese– the favorite nourishment of hikertrash around the world. Last year, I discovered half way through the summer how awesome I felt after eating simple carbs, a.k.a. junk food, because my cells were so depleted of glucose. Ramen became crack to me. This year, I’m acknowledging my addiction to, and genuine need for, glucose in the healthiest way I can: I’m packing a moderate serving of these dishes in each resupply and pairing them with healthy protein and fats to off-set the inevitable blood sugar spikes that they bring.
4) Speaking of healthy protein and fats, I dished out the cash and bought about $240 worth of high quality jerky from Simply Snackin’. They offer an incredible assortment of beef, chicken and venison jerky and it’s all delicious! After about 450 miles of my last hike, I looked like a starvation victim. Then I upped my fat and protein intake by adding more olive oil and jerky to my diet. Since fat burns slower than carbs and the protein helped repair muscles, I was able to sustain energy much better. I plan to eat two to three jerky bars per hiking day. Check out Brenda Braaten’s excellent article on thru-hiker nutrition: Pack Light, Eat Right.
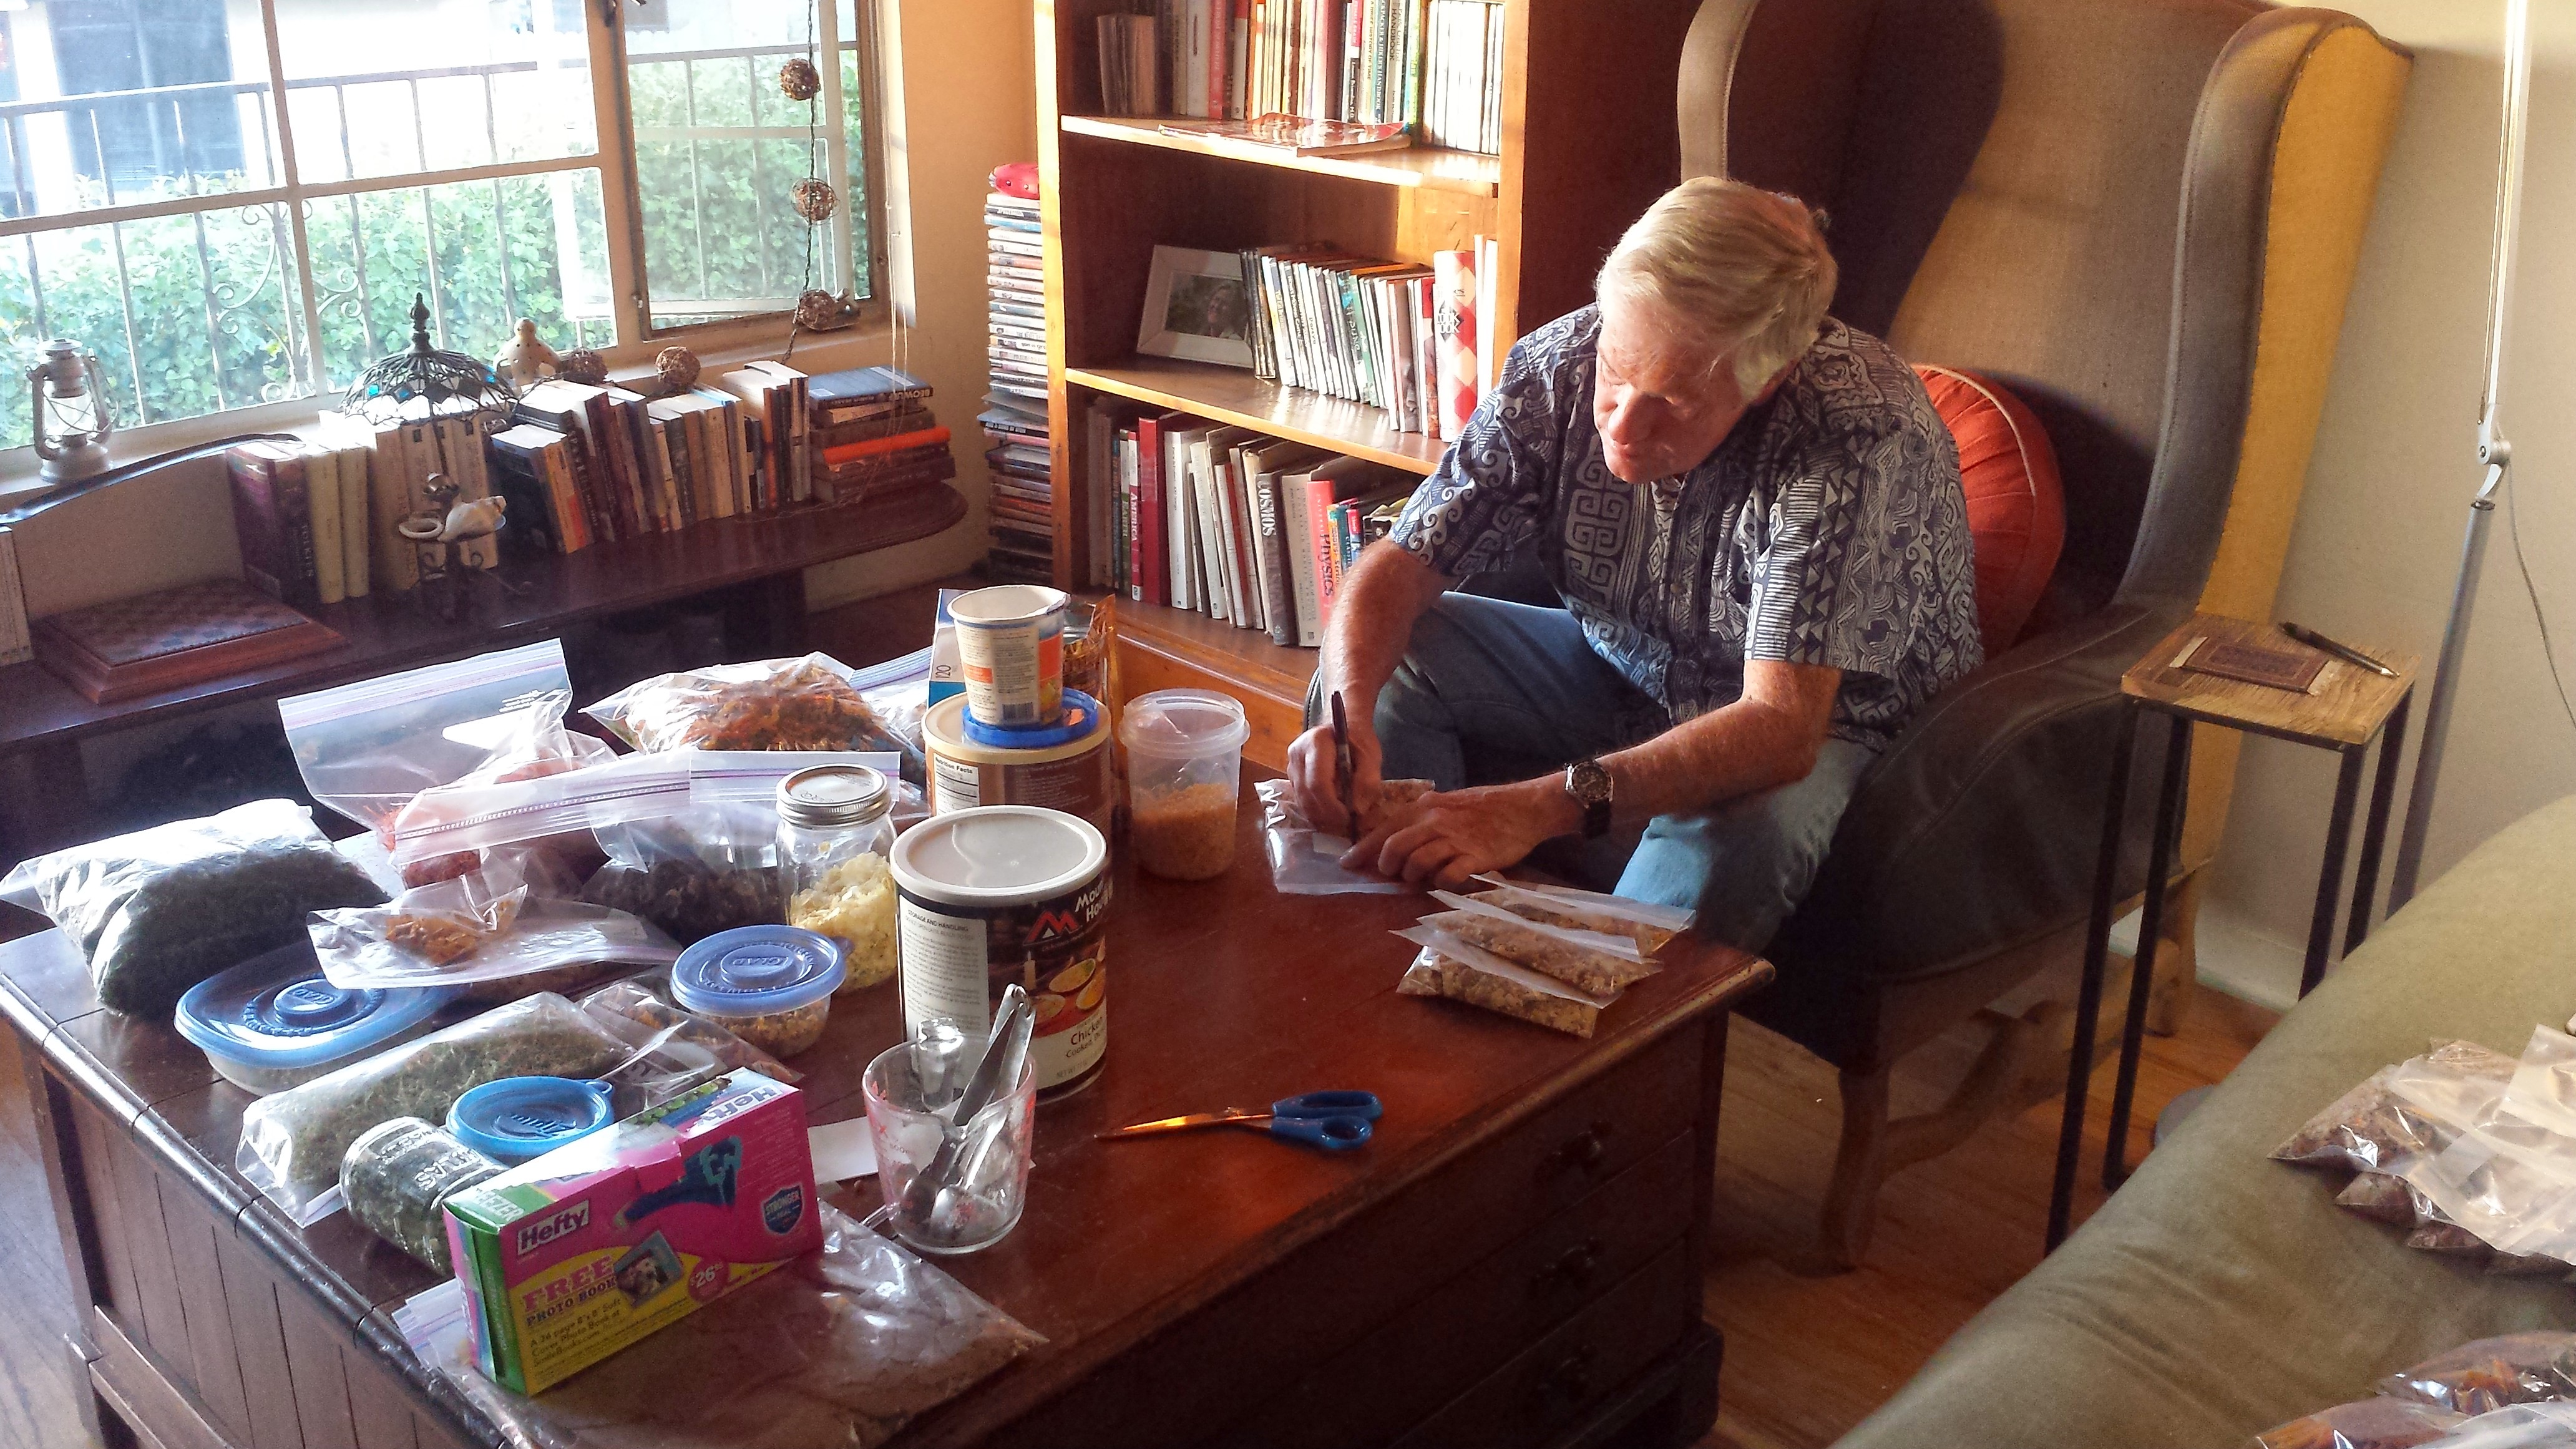
Putting Dad to work assembling dehydrated meals.
Remaining To-Dos:
Hike more
Pack cocoa packets into my resupply boxes
Cross my fingers and hope my sleeping bag arrives in time
Upgrade my cell phone data plan (so I can surf the web and upload videos)
Unsubscribe from unwanted emails (so they don’t clog my inbox)
Put all left over gear and backpacking food into storage
Go to the salon for a hair cut
Mail out Fathers’ Day cards (can’t forget this!)
Throw any remaining cares to the wind- because if they’re not done by now, they’re not that important!
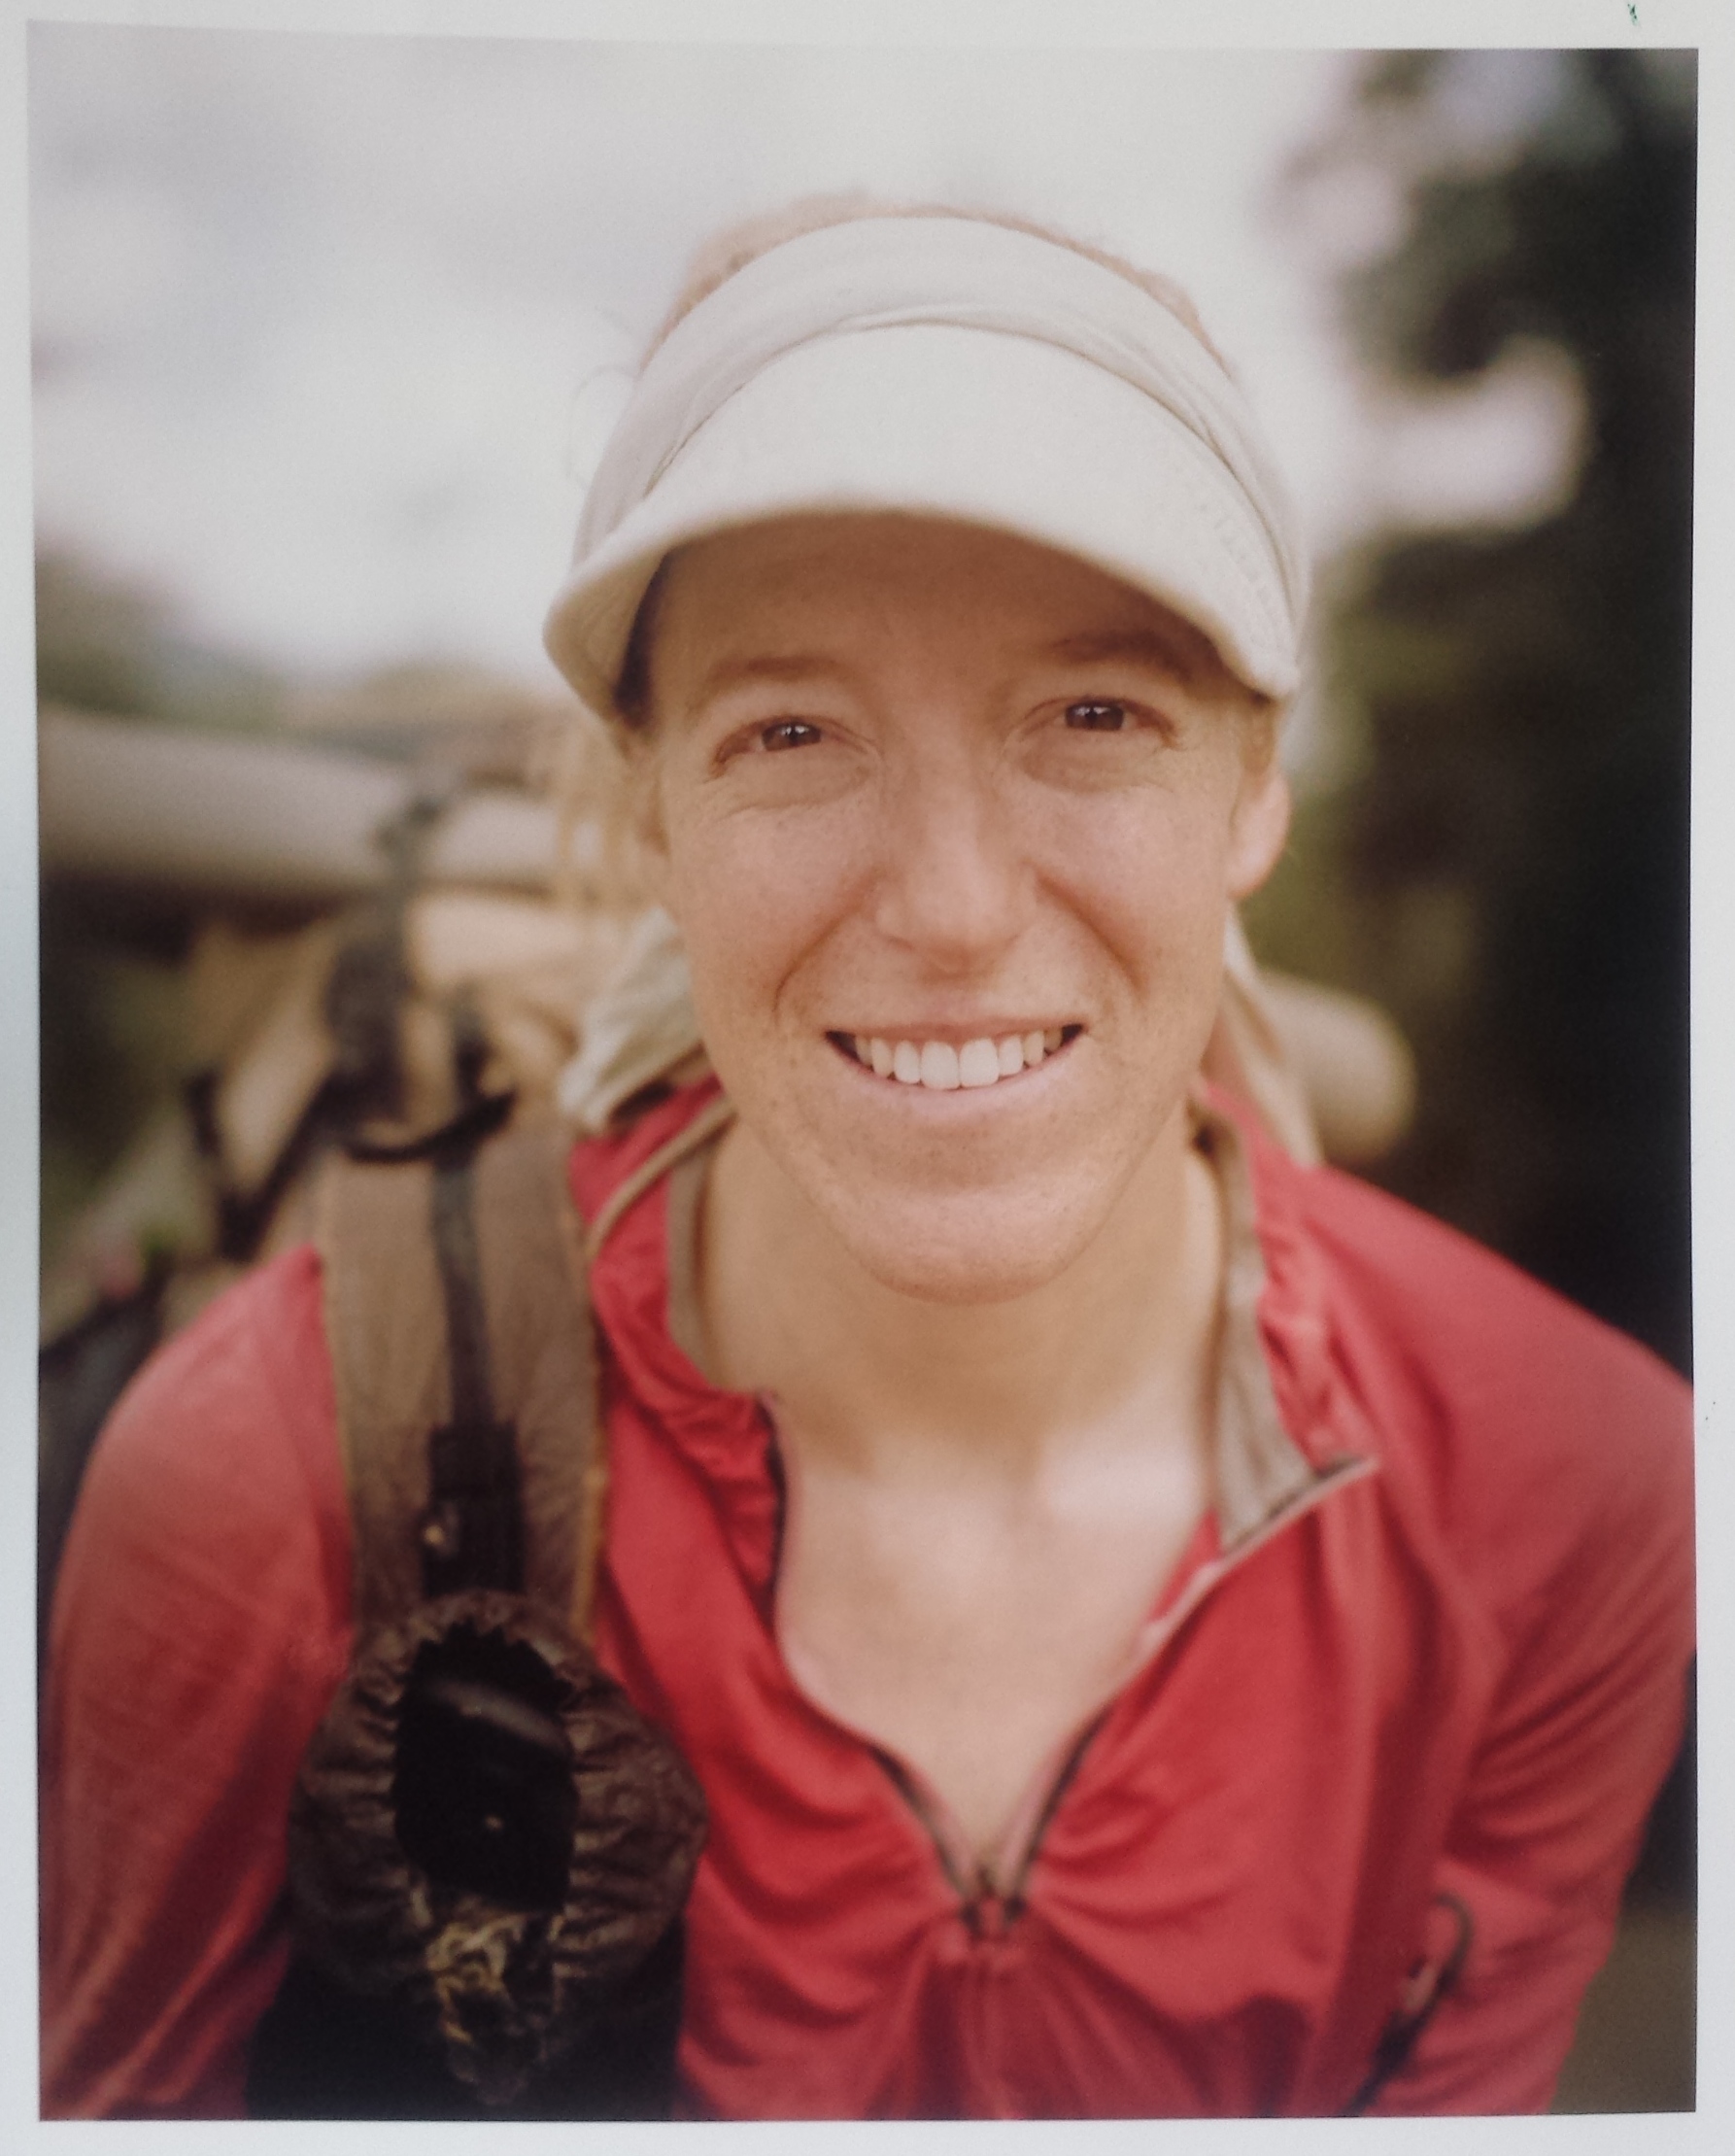
Me just after 1,000 miles on the trail last year. Photo taken by Ian Tuttle of Porcupine Photography.